Single Sign-On provisioning setup - OneLogin (SCIM)
Administrators of RemotePC Team and Enterprise accounts can now set up provisioning for their users through their identity provider. RemotePC supports the SCIM (System for Cross-domain Identity Management) provisioning method to provision user accounts.
To set up Single Sign-On (SSO) provisioning with OneLogin, the administrator needs to:
- Generate a SCIM provisioning token in your RemotePC account
- Create and configure a SCIM provisioning app
- Assign users to the provisioned app
The administrator needs to generate and use the SCIM (System for Cross-domain Identity Management) provisioning token to synchronise all the users linked to their IdP with their RemotePC account.
To generate a token:
- Log in to RemotePC via a web browser.
- Click the username displayed in the top-right corner and click 'My Account'.
- Navigate to the 'Single Sign-On' tab and click the 'Generate Token' button under 'Sync users from your identity provider' to generate a token.
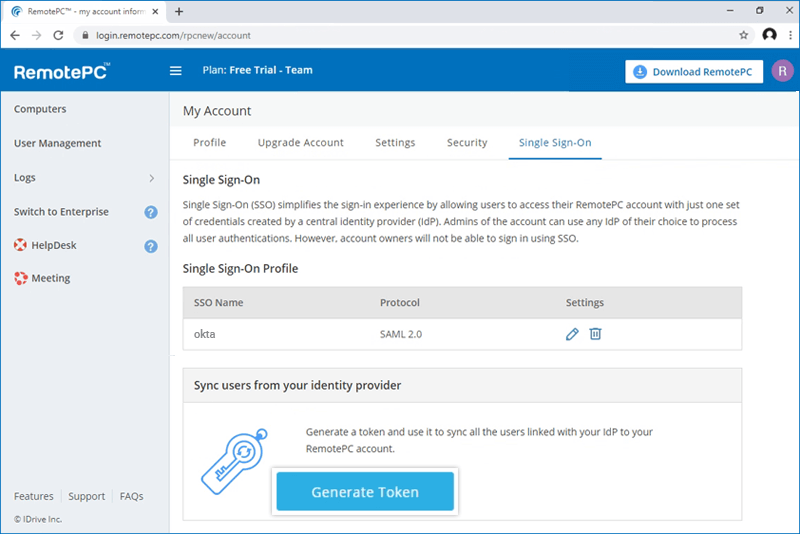
- Click the 'Copy Token' button to copy and save the token for future reference.
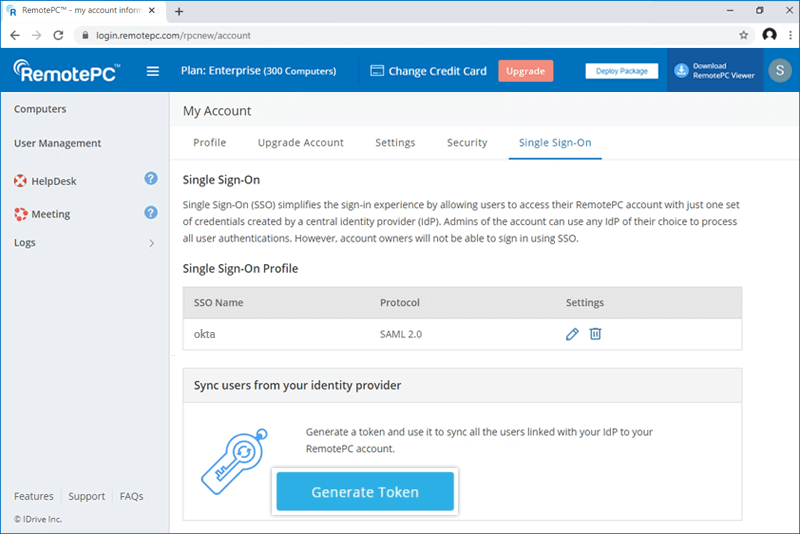
To configure SCIM provisioning for OneLogin, the administrator needs to create an app in the OneLogin console.
To create the app:
- Log in to the OneLogin console using your OneLogin account credentials.
- Click 'Administration' in the top-right corner to view your admin console.
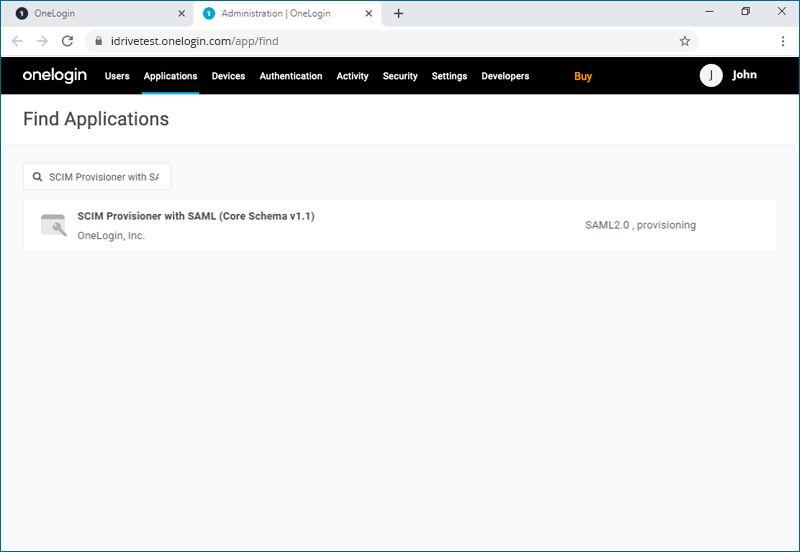
- Select 'Applications' from the top menu.
- Click 'Add App' and search for 'SCIM Provisioner with SAML (Core Schema v1.1)', then click the app to add it.
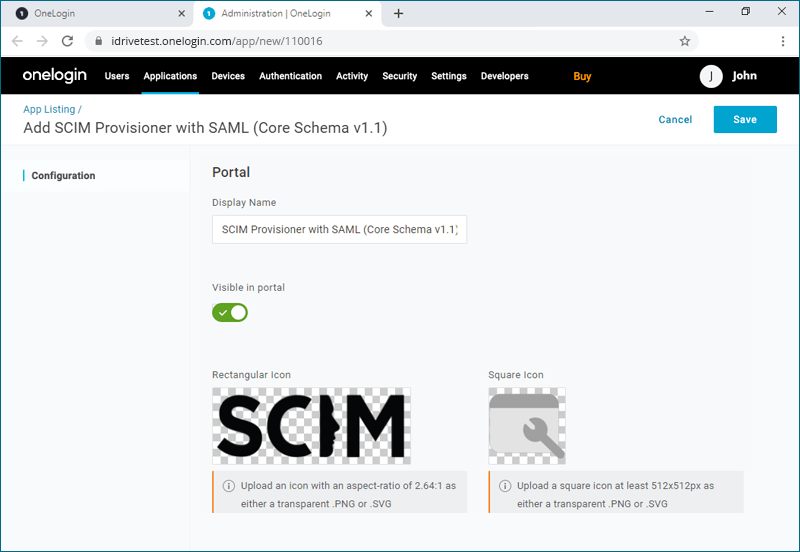
- Enter the app name and click 'Save'.
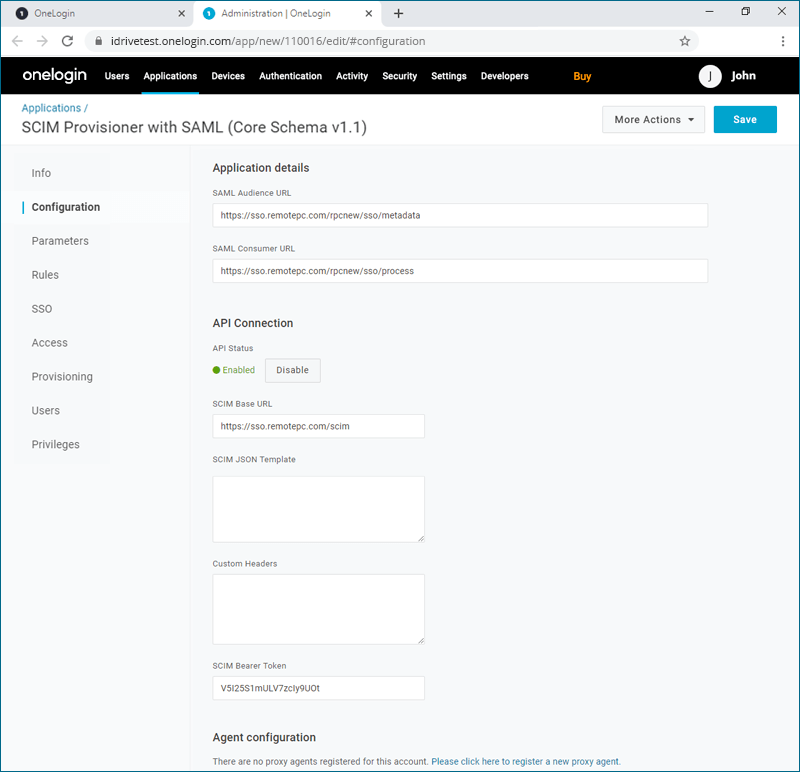
- Click the 'Configuration' tab and add the following URLs and token:
- SAML Audience URL: https://sso.remotepc.com/rpcnew/sso/metadata
- SAML Consumer URL: https://sso.remotepc.com/rpcnew/sso/process
- API Status: Click the 'Enable' button to enable provisioning
- SCIM Base URL: https://sso.remotepc.com/scim
- SCIM Bearer Token: Enter the SCIM provisioning token generated in your RemotePC account
- Click 'Save'.
To enable provisioning for user accounts, the administrator needs to assign users to the SCIM app created in the OneLogin console.
To assign users and enable provisioning:
- Navigate to the OneLogin admin console. From the top menu, click 'Users' > 'Users'.
- Click on the user you would like to add to the app or click 'New User' to add a new user profile and click 'Save User'.
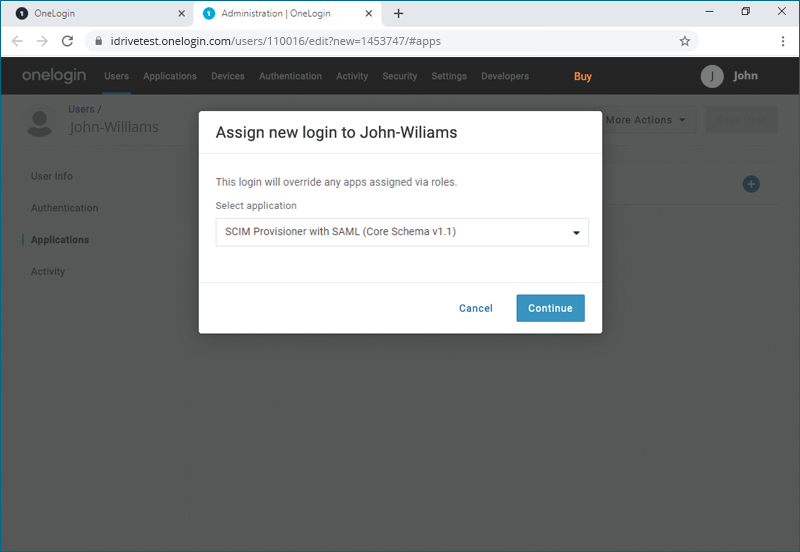
- In the user profile, go to the 'Applications' tab and click
 to select the SCIM app from the drop-down list and click 'Continue'.
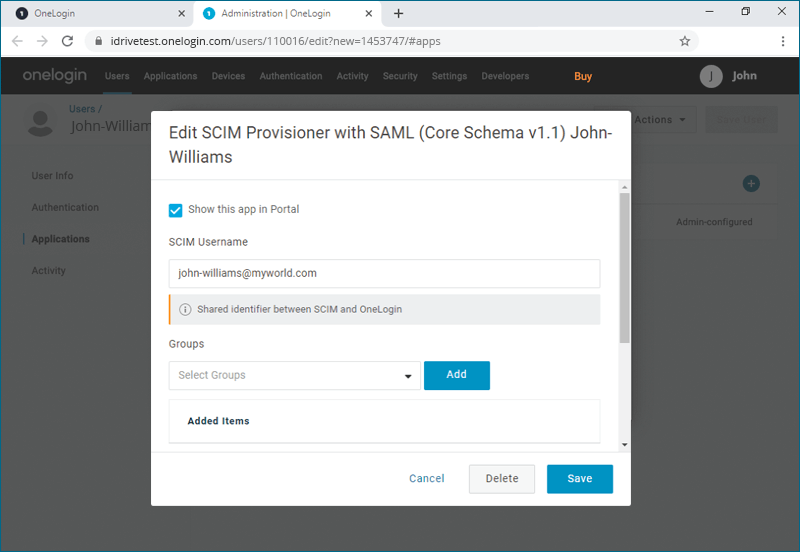
- Verify the 'SCIM Username' and click 'Save'.
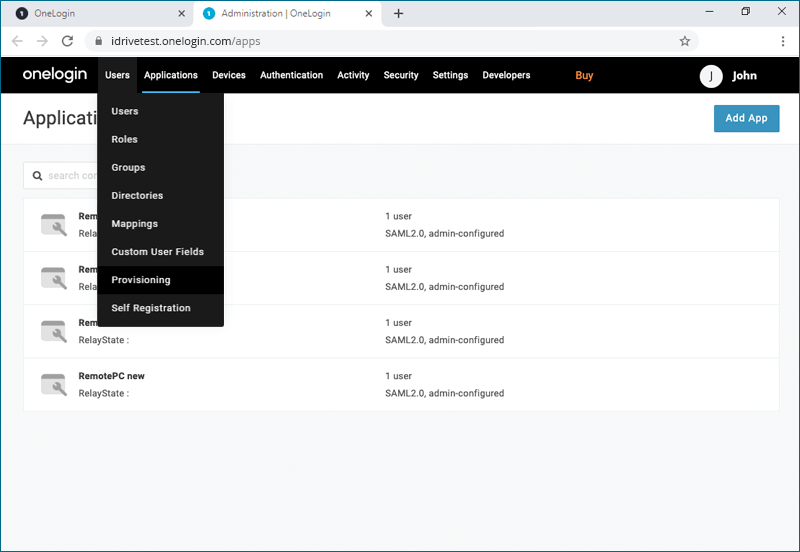
Note: The 'SCIM Username' needs to be an email address. - From the top menu, click 'Users' > 'Provisioning'.
- Click on any user profile for which you wish to enable provisioning and click 'Approve'.
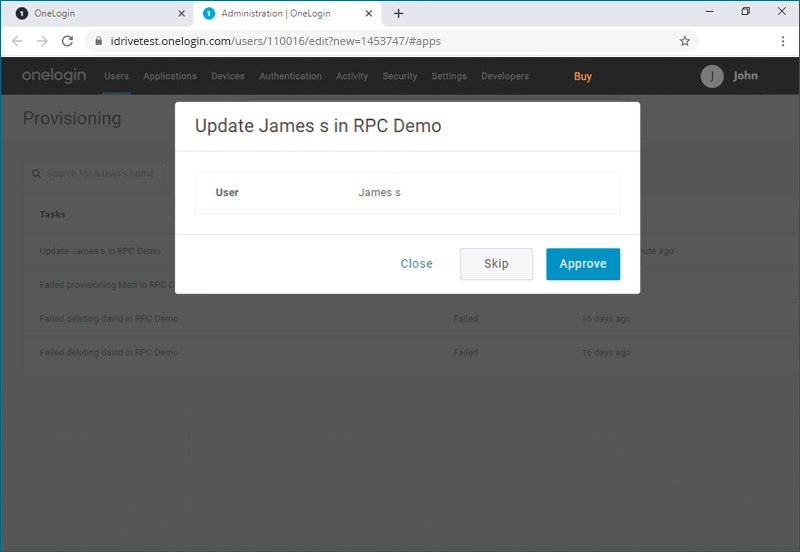
Once done, the selected users will be provisioned.