Enabling SSO for users
Administrators of Team or Enterprise accounts can either select SSO for logging in when inviting users to create an account or enable SSO for existing users.
To invite SSO users:
- Log in to RemotePC via a web browser.
- Go to the 'User Management' tab and click 'Add User'.
- Enter the user's email address in the 'Email Address' field.
- Select a group and other preferences for the user.
- Select 'Enable SSO'.
Note: If you select the checkbox, users won't have to set a password for their account.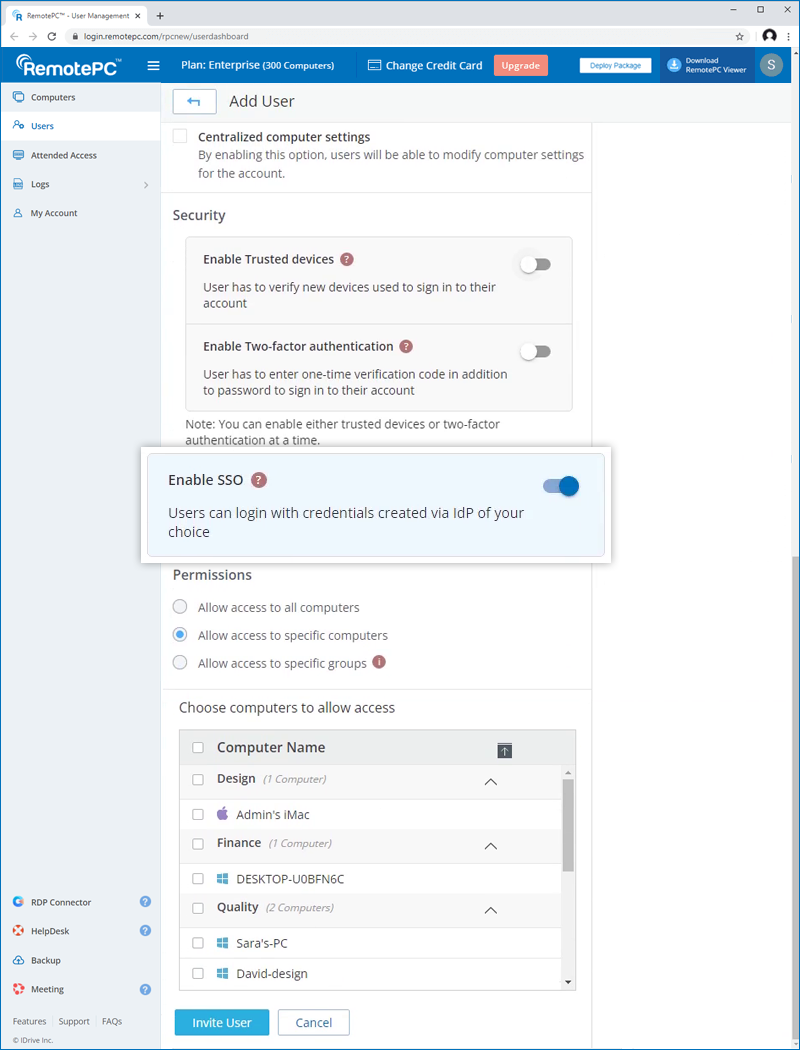
- Click 'Invite User'.
The invited user will receive an email with a link to register with RemotePC. Once the user registers, their account will be added to your account.
To enable SSO for existing users:
- Log in to RemotePC via a web browser and go to the 'User Management' tab.
- Hover over the user you want to edit and click
 .
. - Select 'Enable SSO'.
- Click 'Save'.
