SSO via Azure AD - Create a non-gallery application
Administrators can configure single sign-on for the RemotePC application in the Microsoft Azure AD application gallery without writing any code. The instructions in this section show you how to create a non-gallery application
in Azure AD.
Steps to create a non-gallery application in the Azure AD console
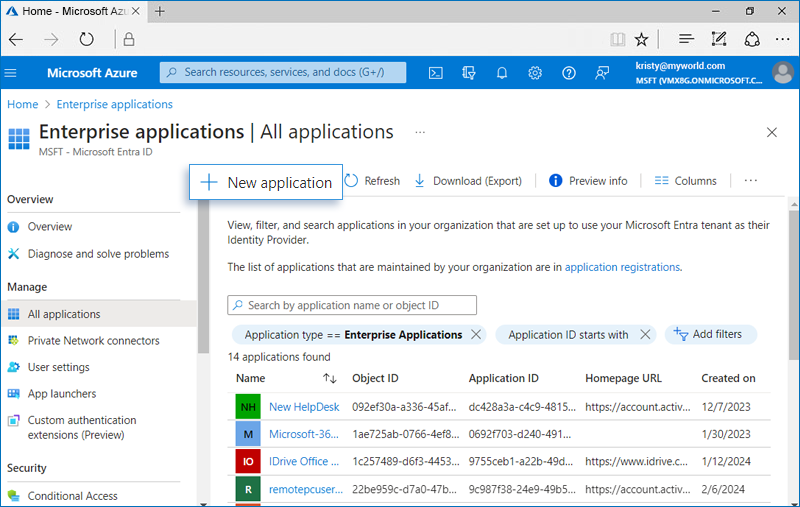
- Log in to the Azure AD console and navigate to 'Enterprise applications'. Go to the 'Overview' tab and click 'New application'.
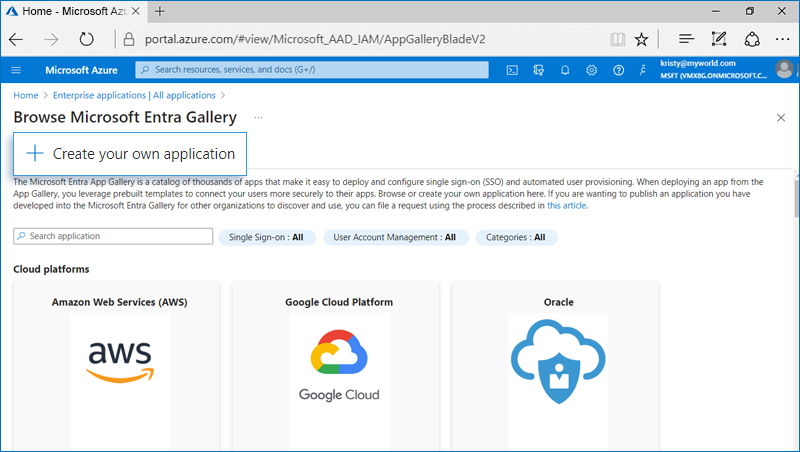
- Click 'Create your own application'.
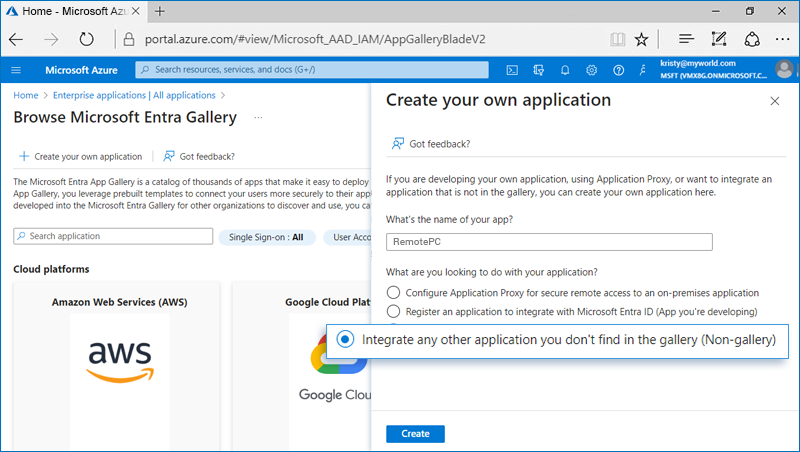
- Enter 'RemotePC' as the application name, select 'Integrate any other application you don't find in the gallery (Non-gallery)', and click 'Create'.
- Navigate to the 'Single Sign-on' tab.
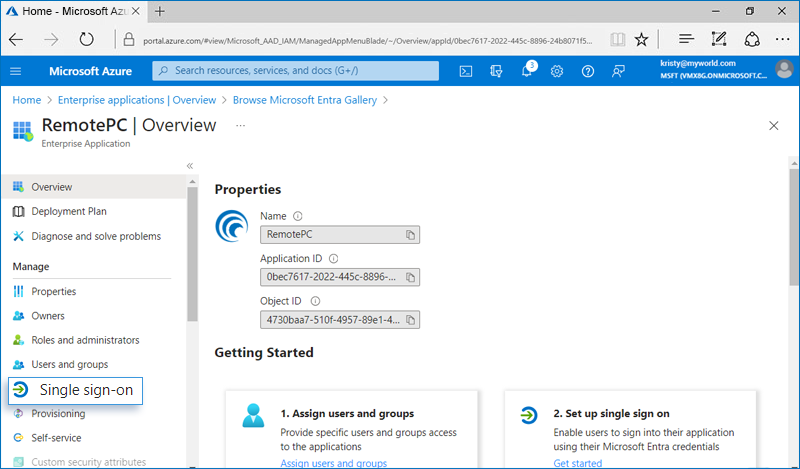
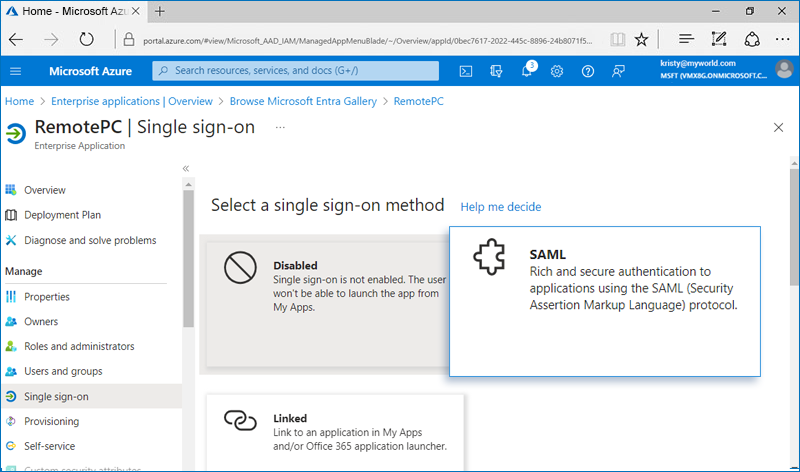
- Click 'SAML' as the single sign-on method.
- Click 'Edit' to update the basic SAML configuration details.
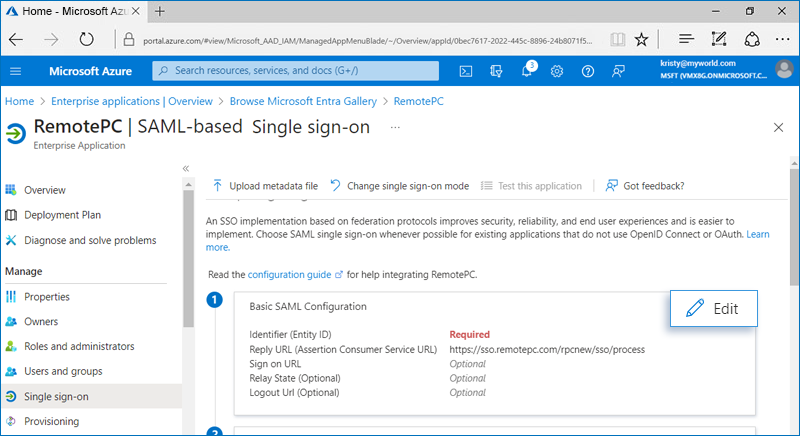
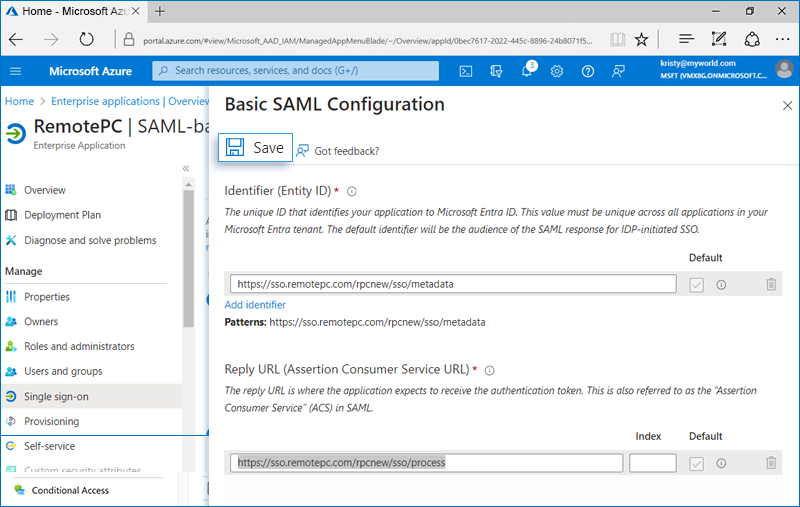
- Enter the following URLs obtained from your RemotePC account:
- Identifier (Entity ID) - https://sso.remotepc.com/rpcnew/sso/metadata
- Reply URL (Assertion Consumer Service URL) - https://sso.remotepc.com/rpcnew/sso/process
- Click 'Save'.